Taking Photos with Light Sabers

Well, I’ve officially done enough photos with light sabers to have a whole blog post with tips just for that. I also realized that I have more practice with this than most photographers, so I’m excited to share this with you!

First things first:

Star Wars has always been ahead of the game with their special effects, so don’t be disappointed if your light saber photos don’t look like what you see in the movies. I hope to eventually update this post and my future photos with what I learn about their processes for bringing light sabers to life. My advice comes from my own trial and error without the high-end lighting, software, and props that they use in Hollywood. This will take practice.

Choose your locations carefully

A light saber is its own light source, so it shows the most color when it’s against a dark background without another light shining on it. This is one reason why we chose Stumphouse Tunnel for these photos—the farther you are from your light source, the darker things will be, and I can’t think of anywhere else around here that goes this deep without any lighting at all. This was one photo idea I had early on, since I’d taken a silhouette in this spot before. With a silhouette, you obviously won’t see things like faces or details on your clothes, so you need to make sure the people in the photo are posed in a way where you can see exactly what’s going on. Between the two photos below, I prefer the photo where they’re holding the sabers down to the side because the colors pop against the dark background better than the light coming from behind them.

In a darker location, you can also let the light saber do all the lighting itself, which will be super dark, dramatic, and monochromatic. This also highlights the color cast a light saber can put on your face, even if the saber itself isn’t showing as much color in the photo. I think the blue here kind of makes him look like a force ghost or a hologram.

Editing for light sabers

If you’re in a better-lit area, the best light for your face might overshadow your glowing light saber, and it’ll look white. For this, I use selective editing, meaning I select just the saber and edit that part separately. I use a hue, saturation, and luminance layer; check the “colorize” box; and then decrease the luminance, increase the saturation, and adjust the hue to the color I like. I’ve developed preferences for the exact hue setting I use for certain colored light sabers. Only a few of my light saber photos didn’t require selective editing for the saber, so I think this was a magic balance between having just enough natural light on their faces and having just enough darkness for the saber to really shine. I still edited the photo as a whole in Lightroom and adjusted the greens and blues, but I didn’t have to isolate the saber in Photoshop.

I’ve also been told by some Star Wars cosplayers that there are “day sabers,” or a blade that’s just a solid color and not a light. In the photo below, the saber on the left had a dead battery, so this is a really good example of the difference between one that’s lit up and one that isn’t. Both have been edited to better highlight the color.

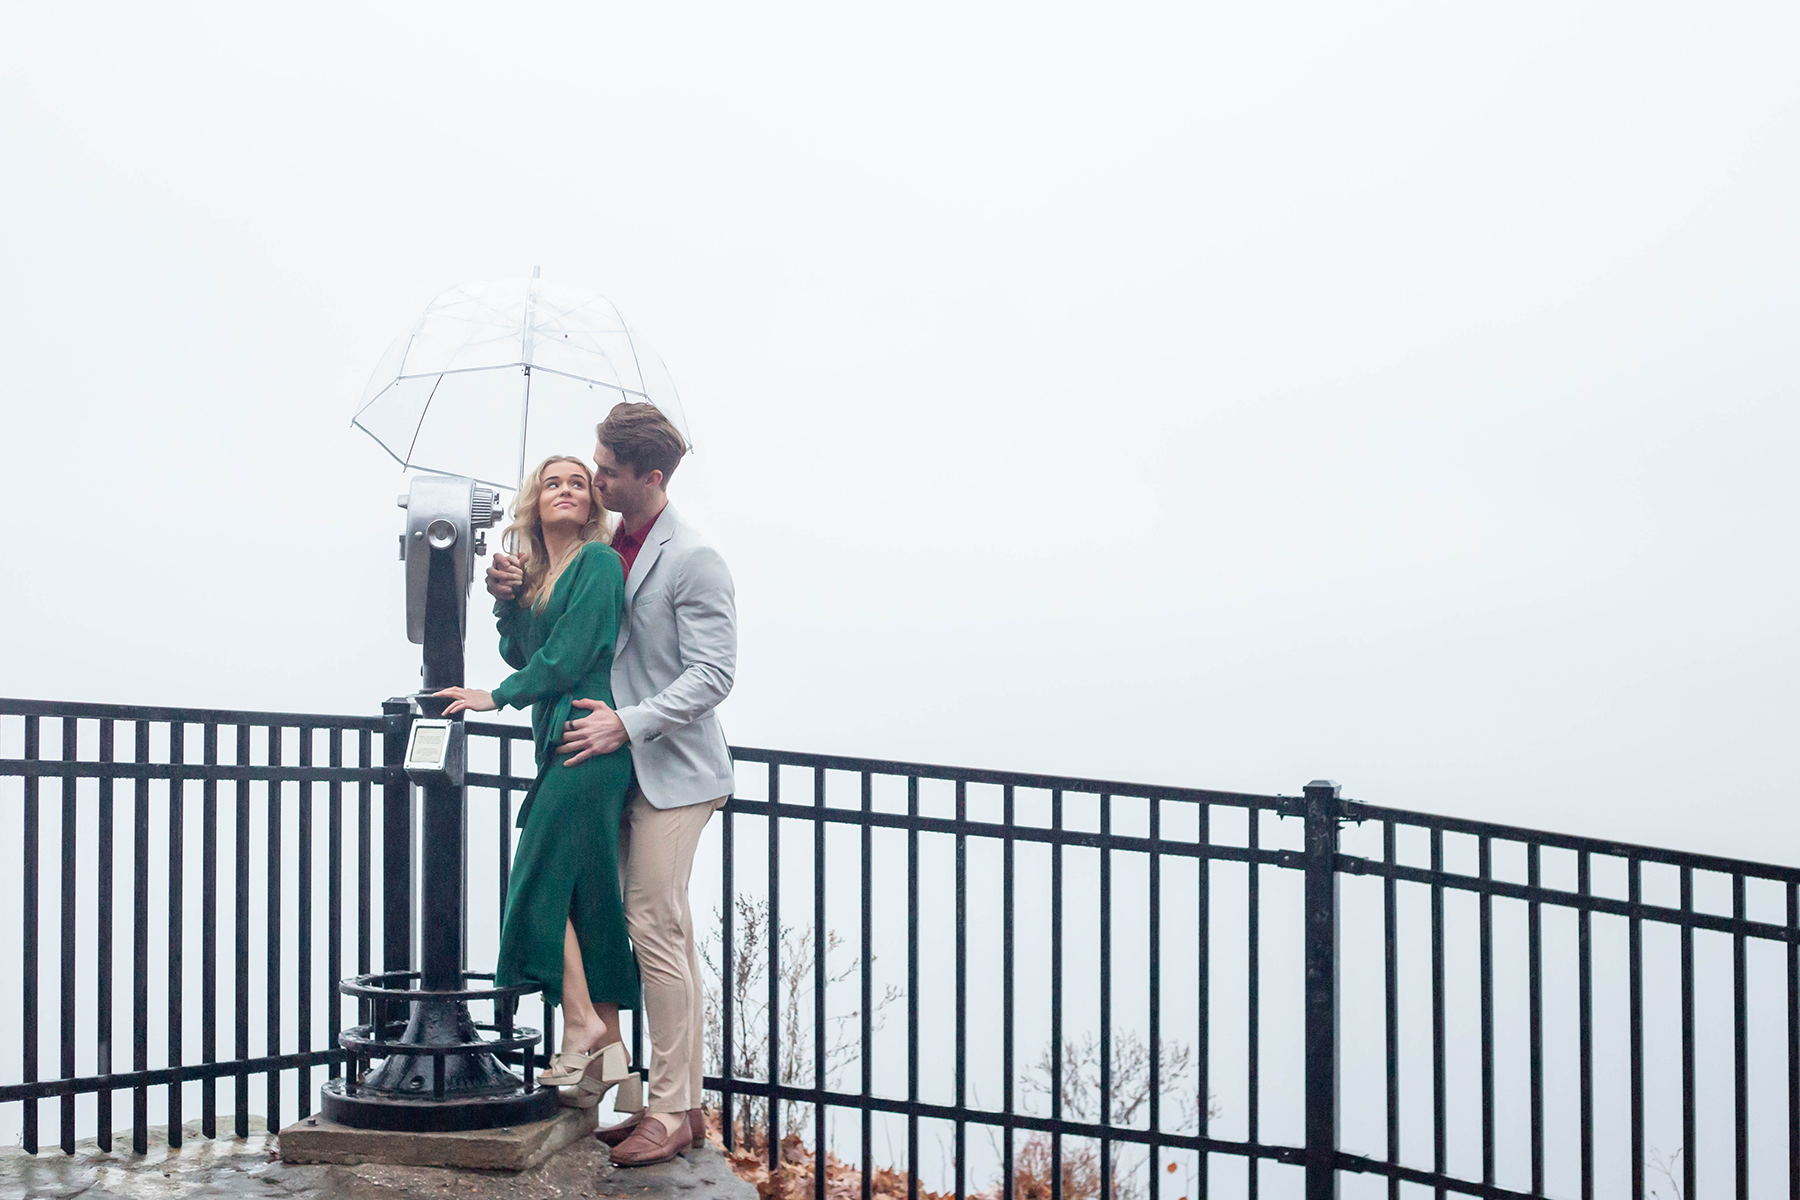
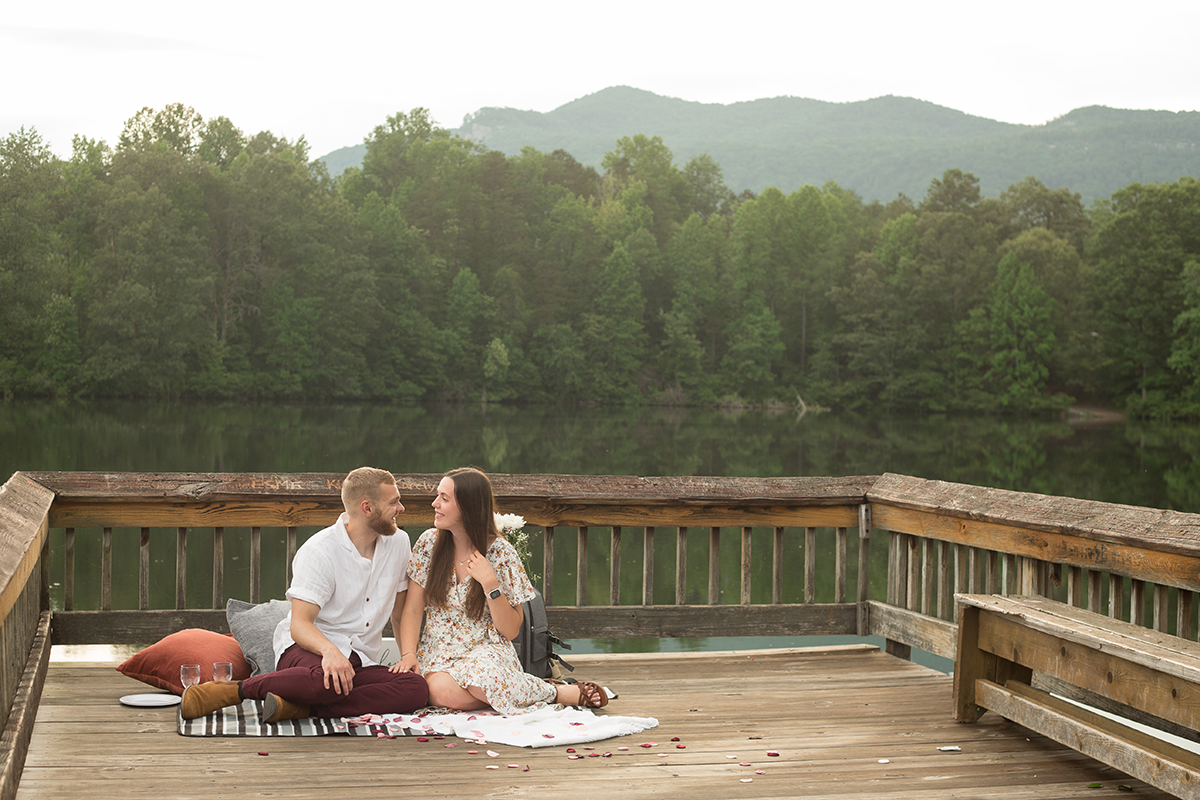
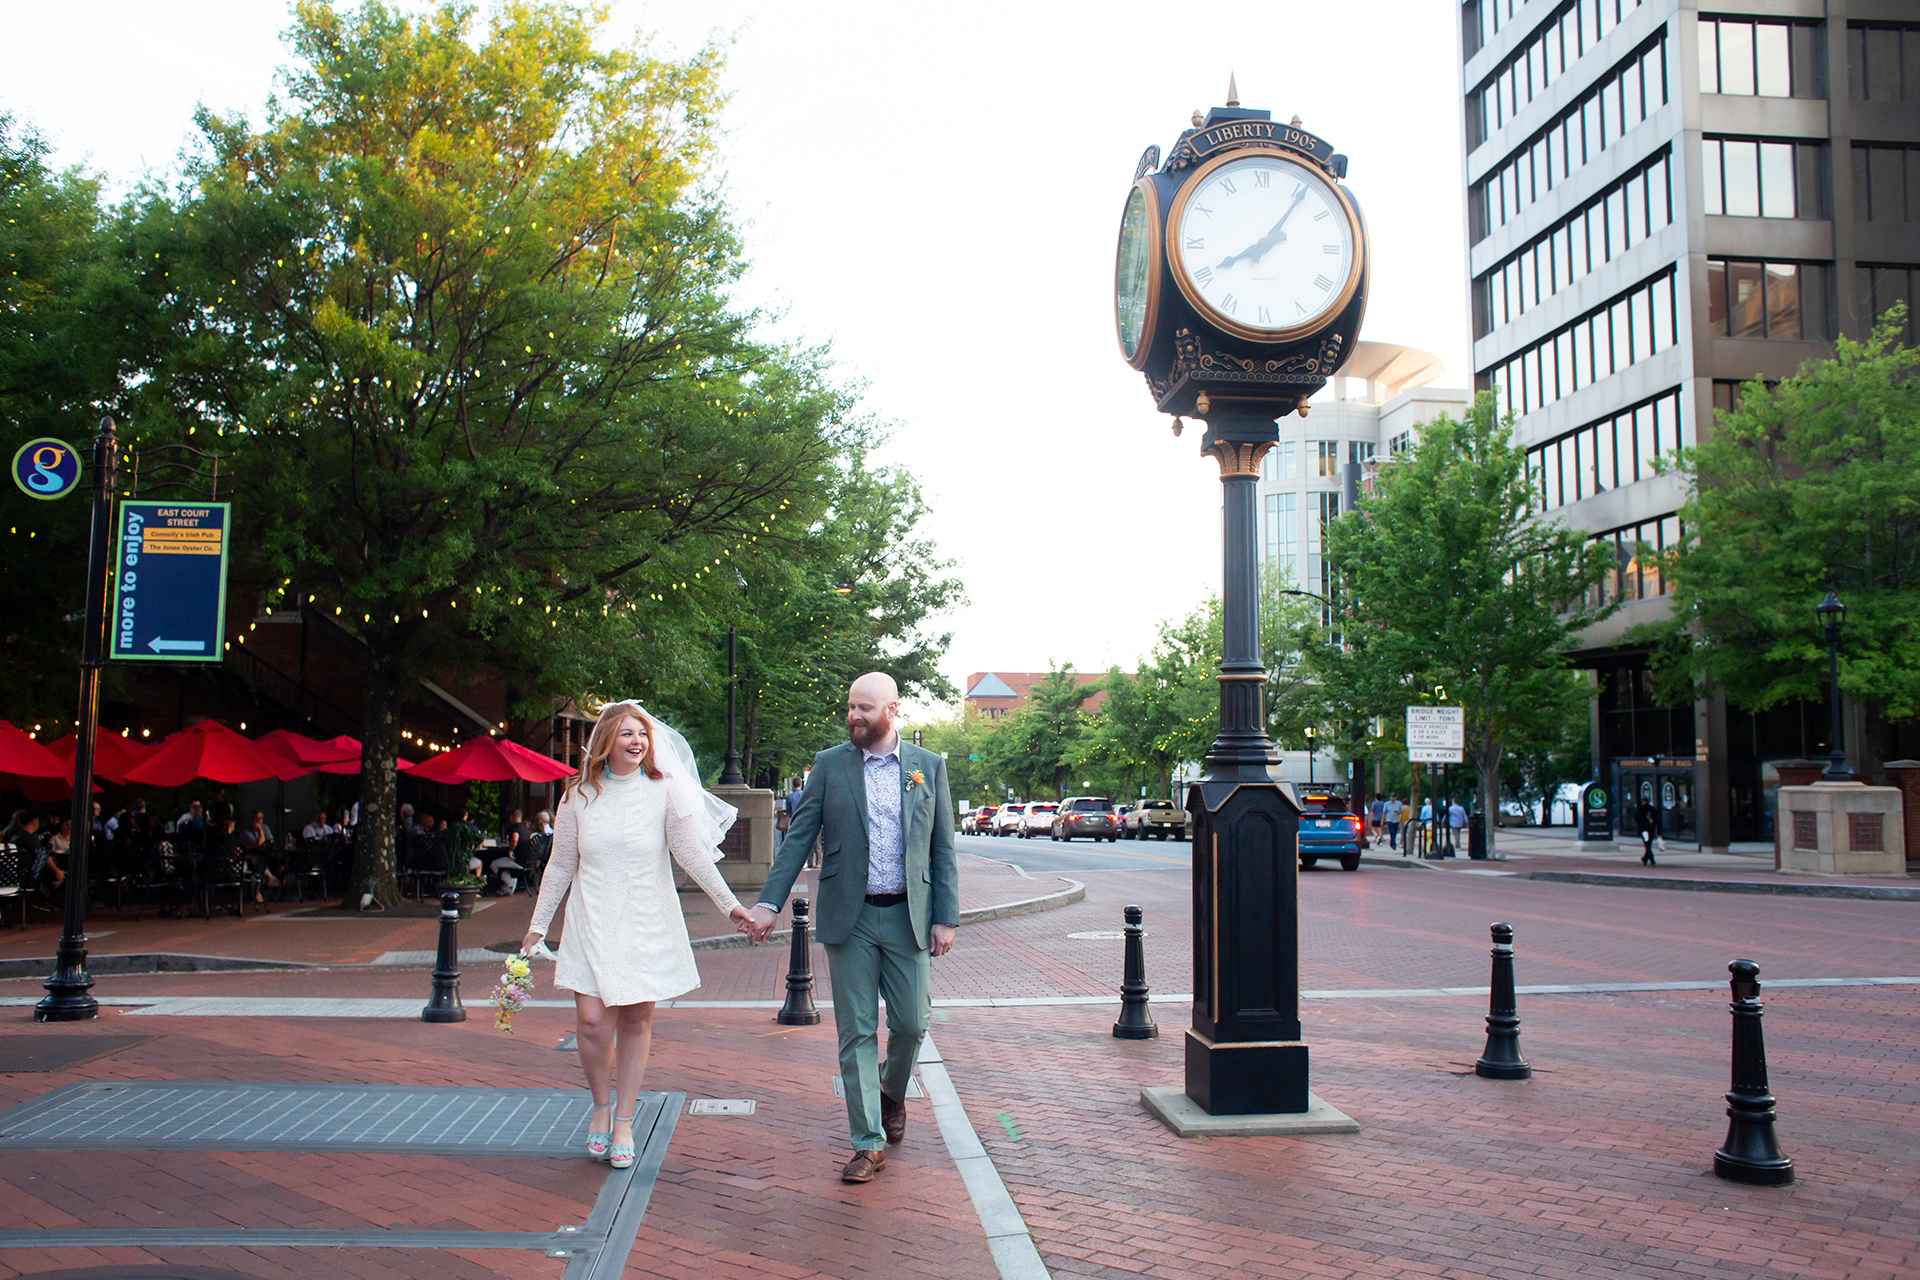
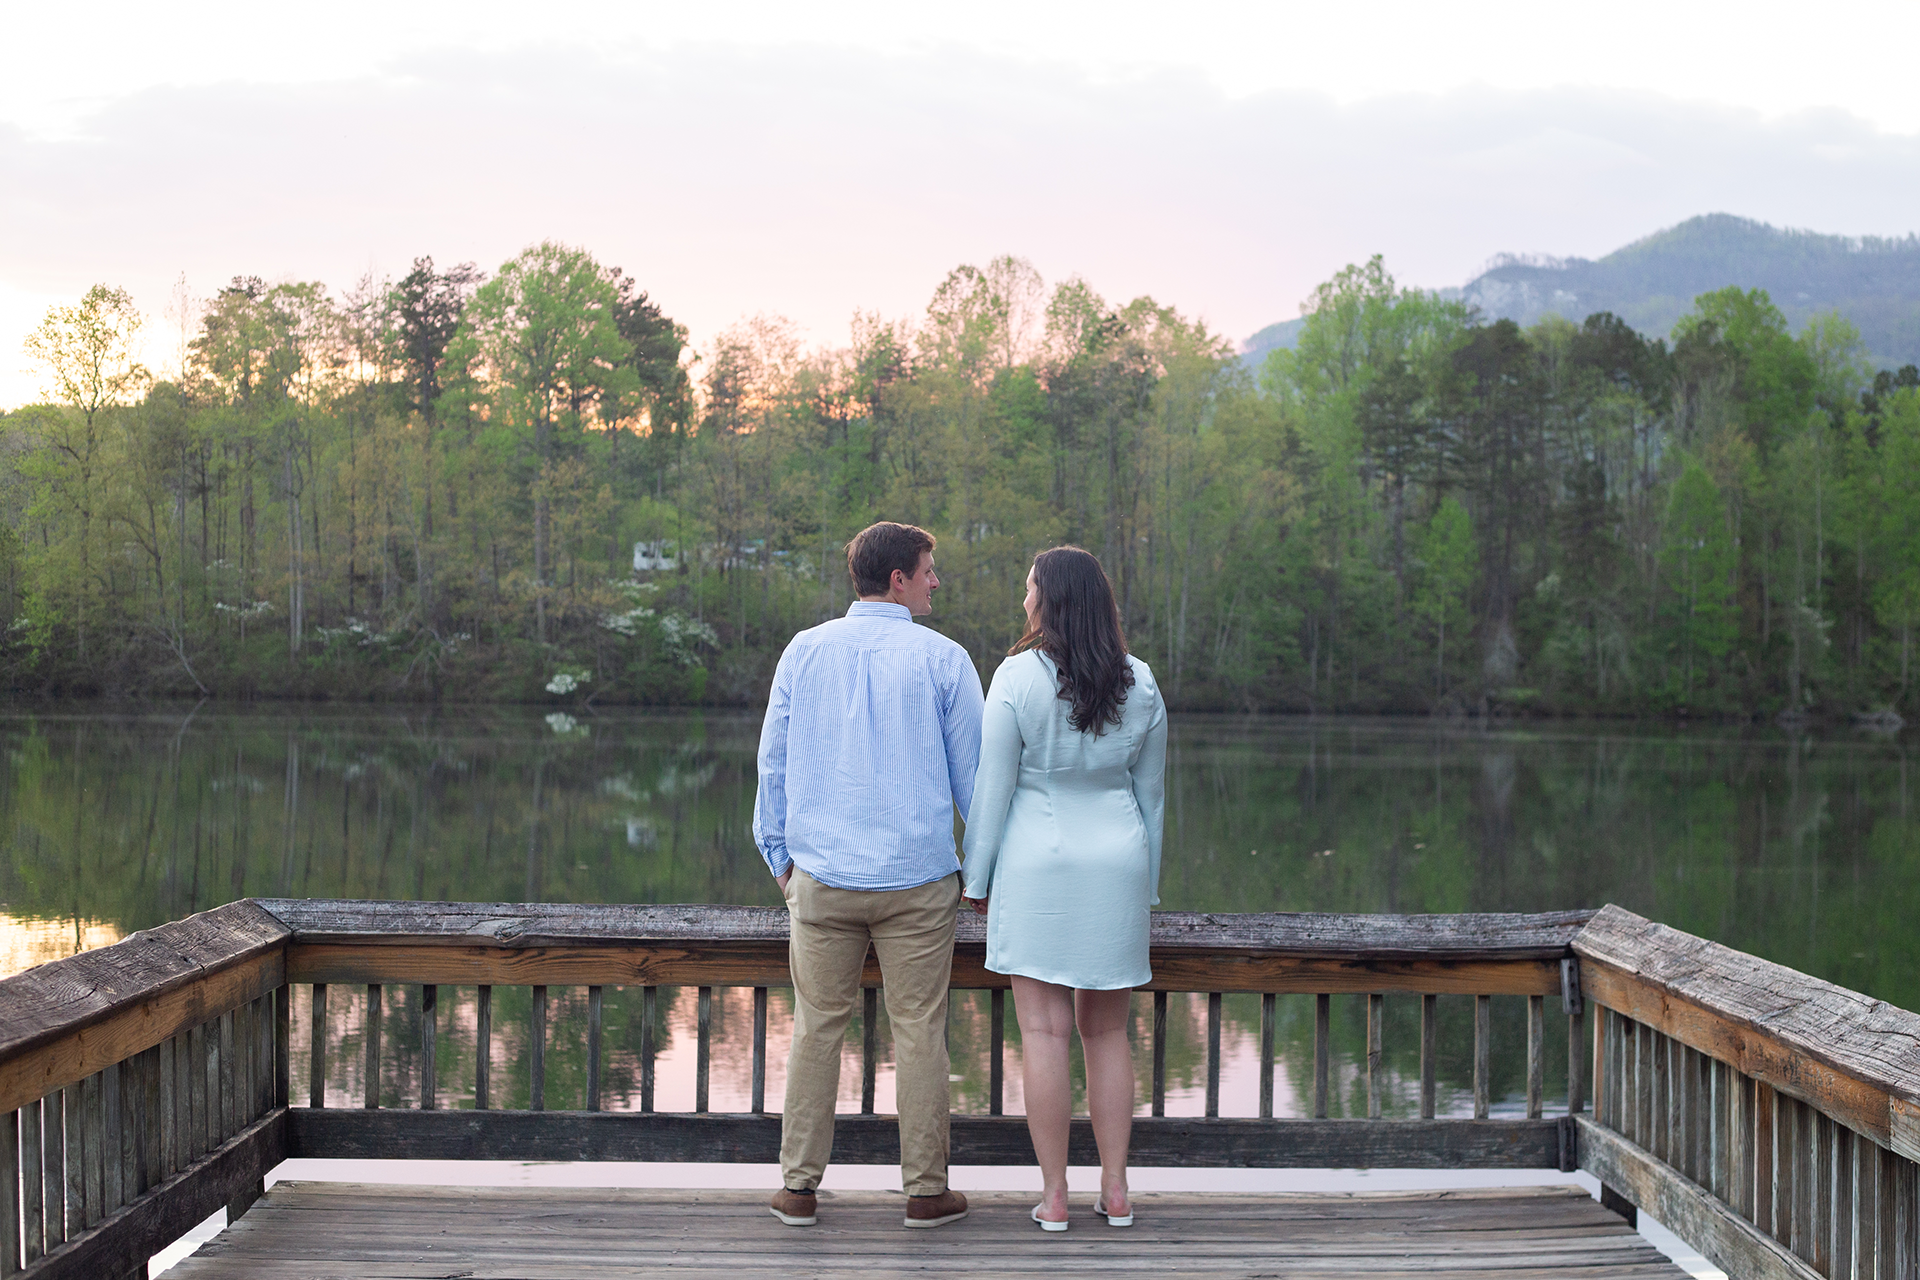
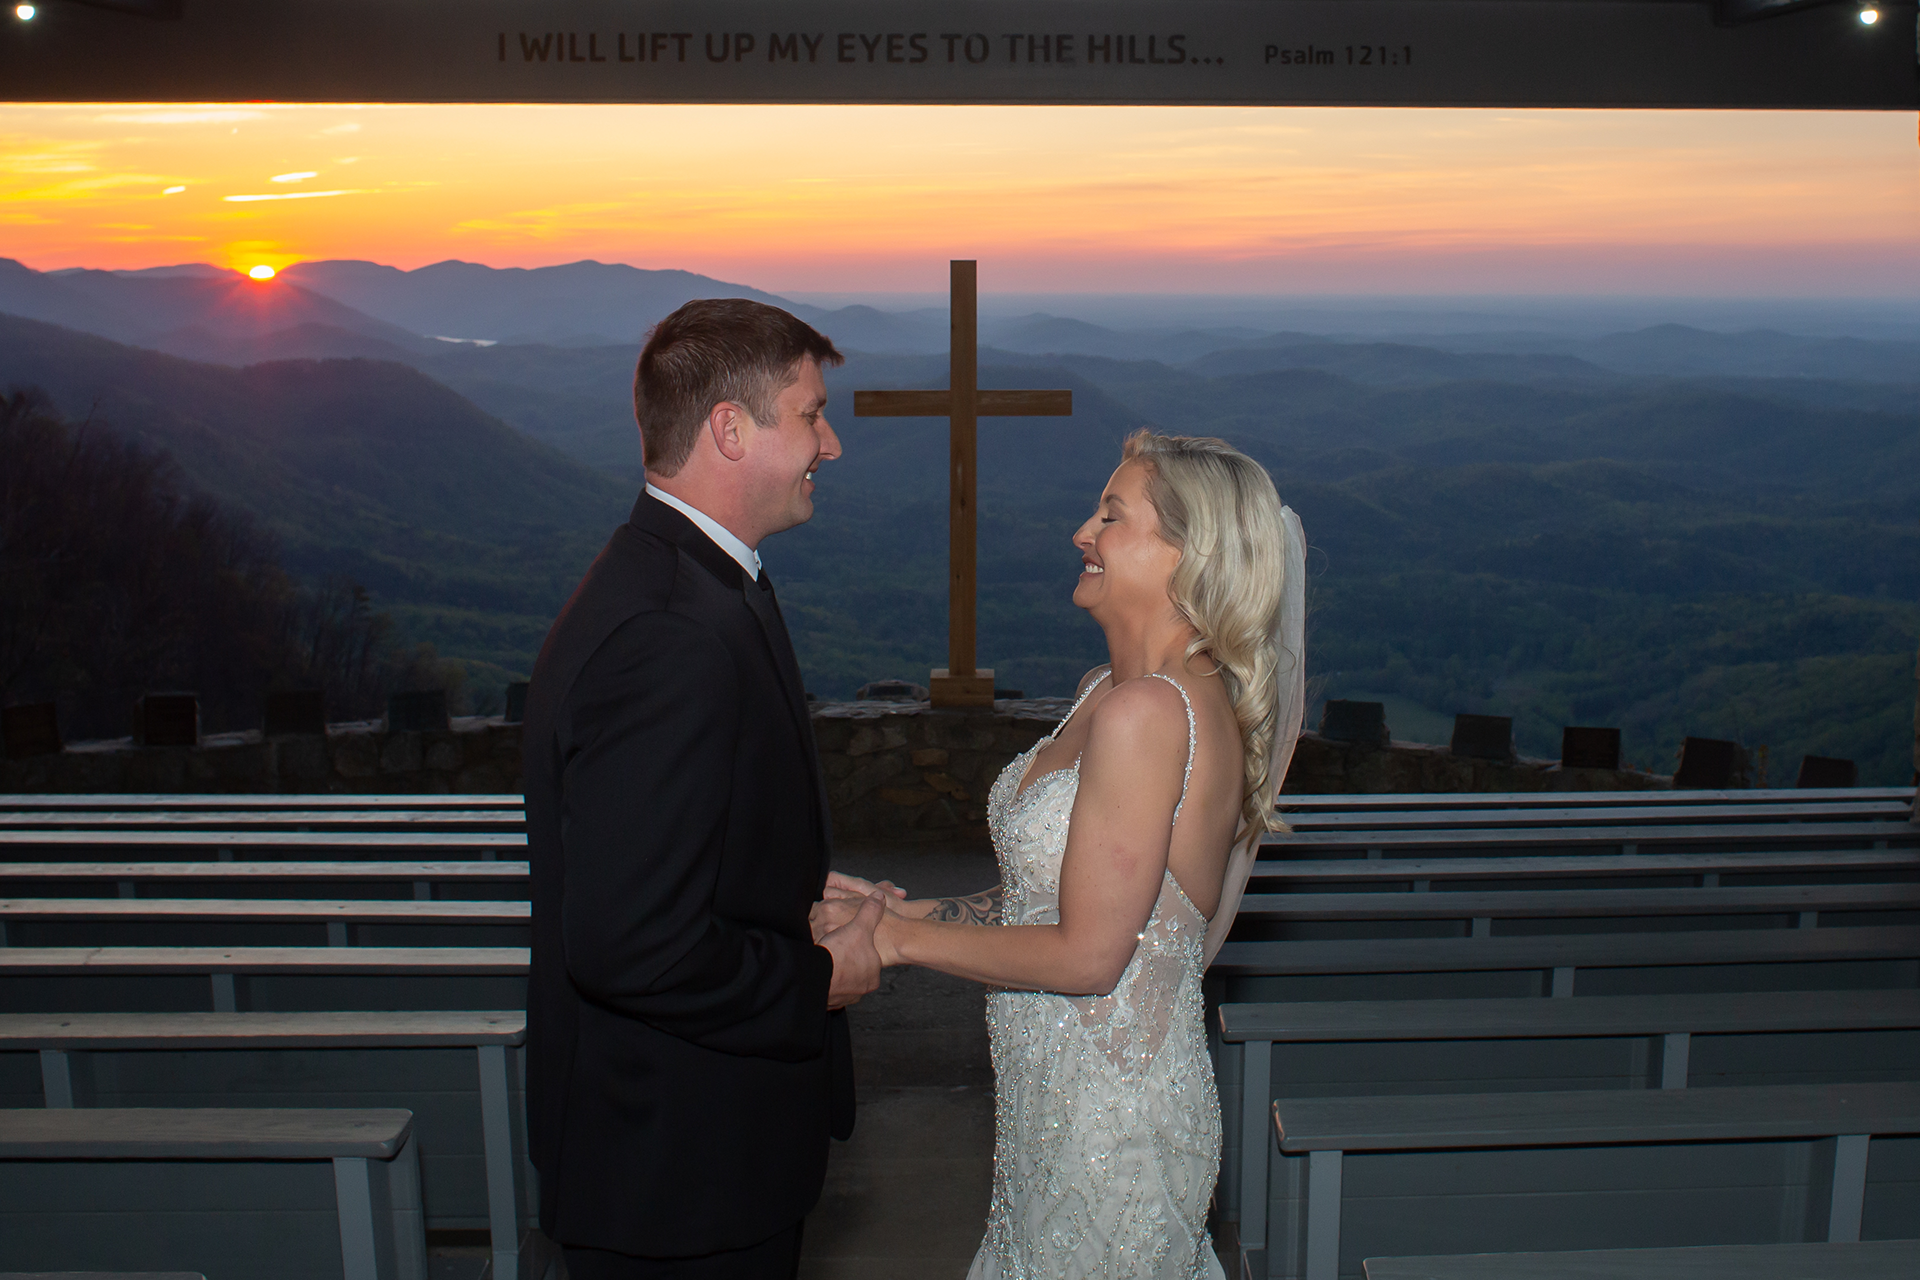
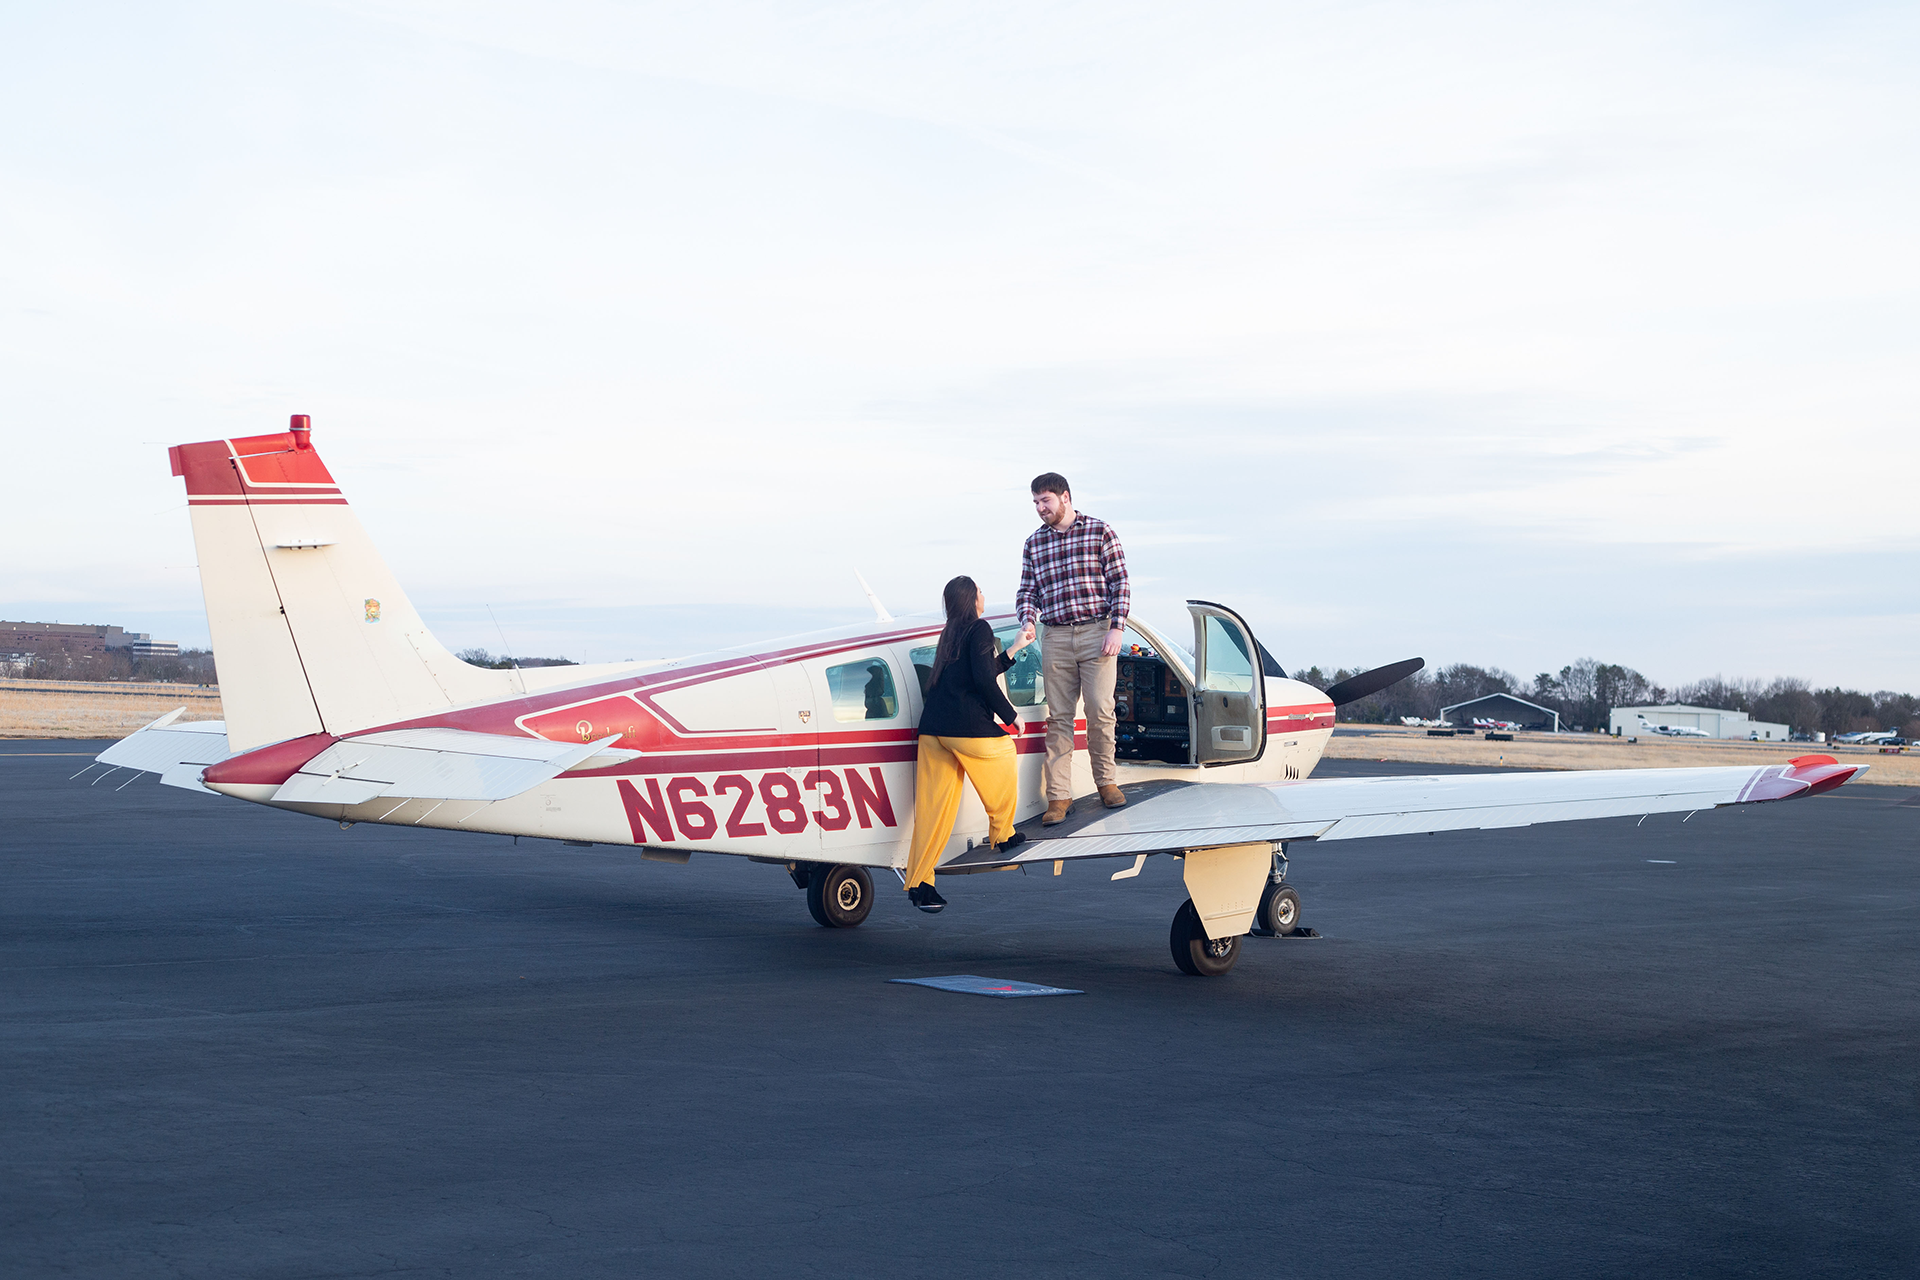
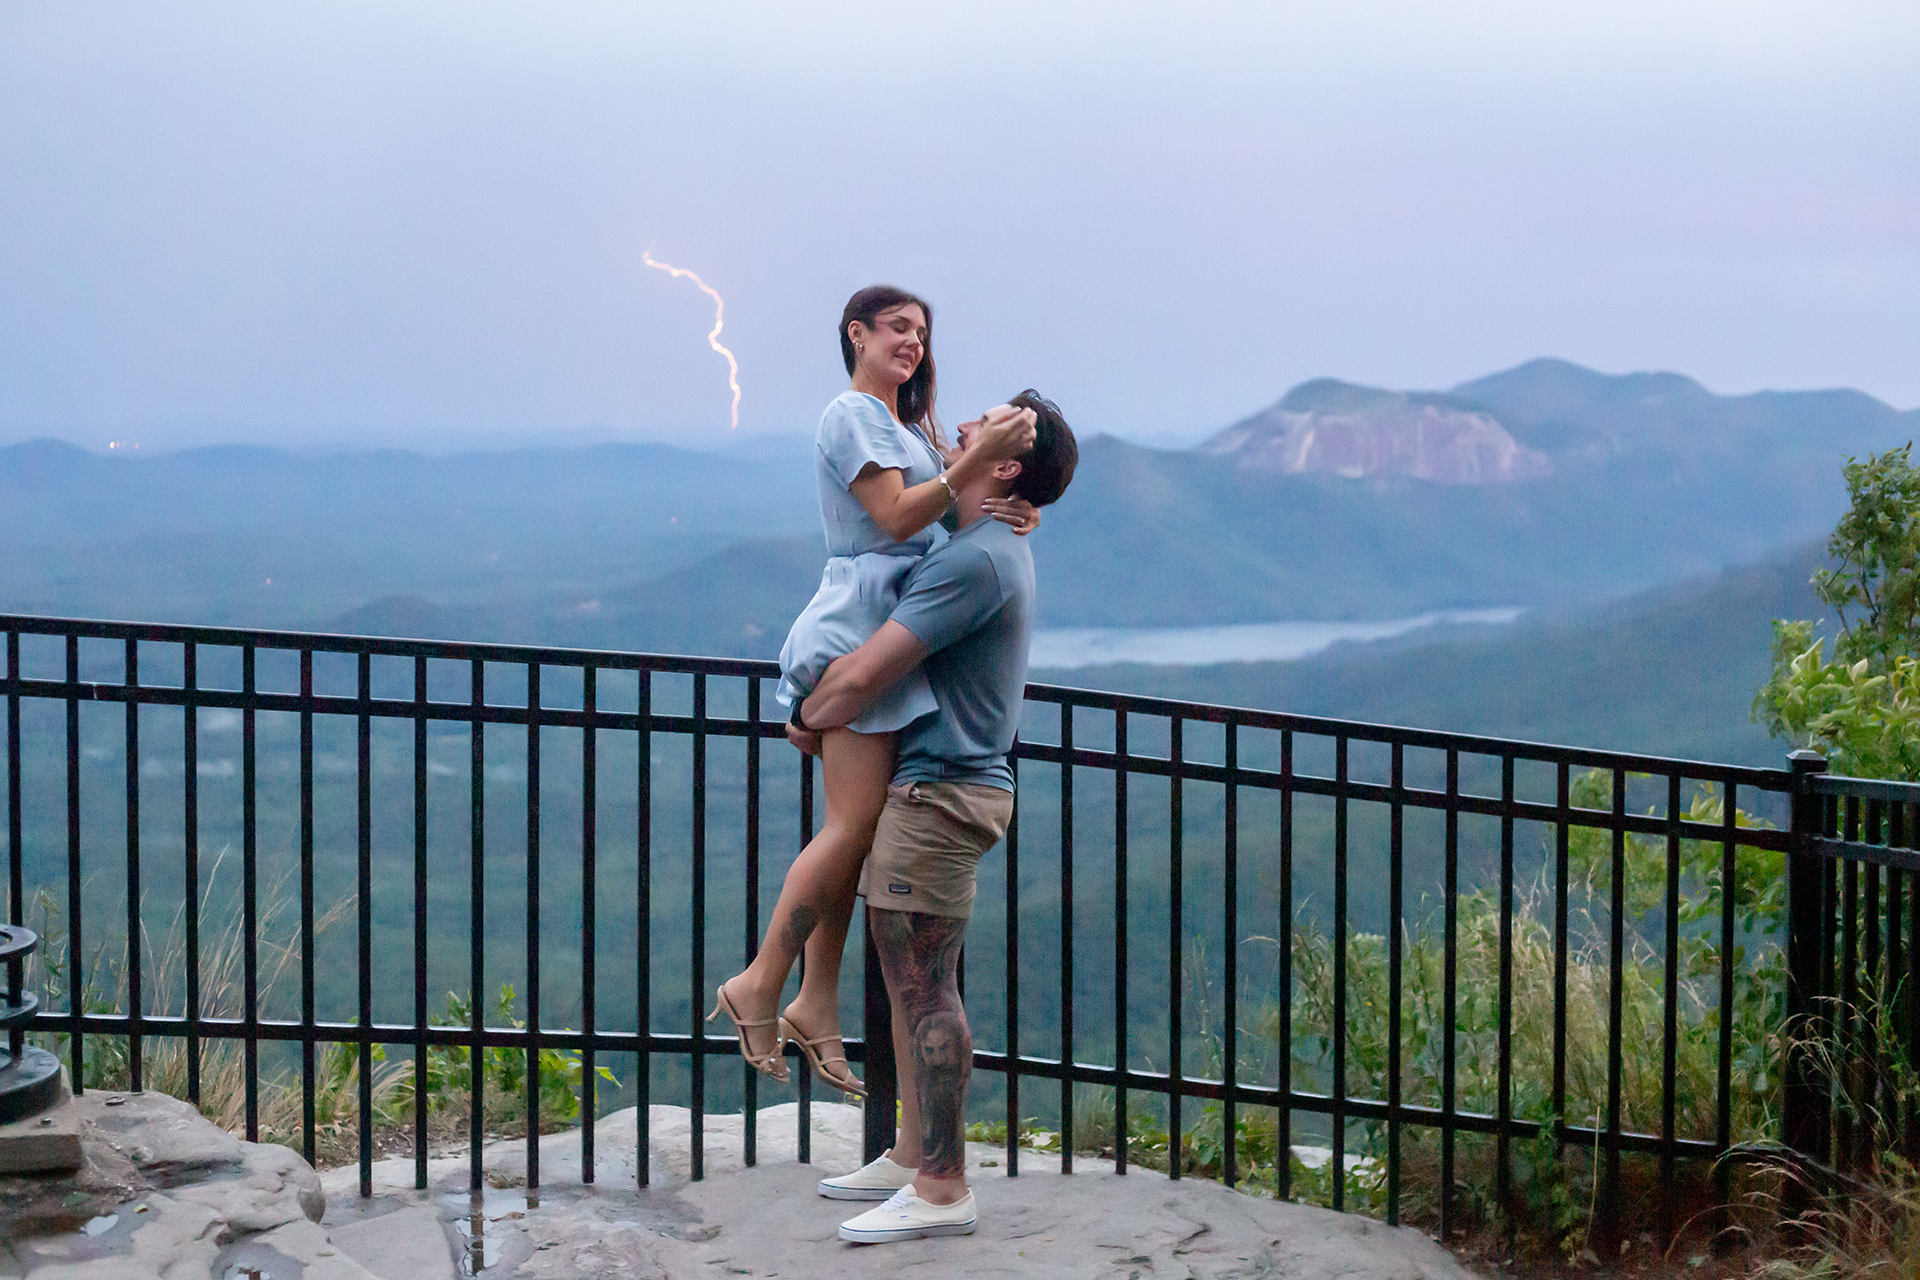
These sabers are from Clayton’s Customs, which I love because of how realistic they look and sound. I also did their wedding and engagement photos, which you can see above and below. This reel from their wedding day is my demonstration of how cool they are to use.

If you’re still looking for a photographer, read more about my elopement and engagement photography services, and check out some of my other Star Wars photos below!

Ready for the best day ever?

My name is Christine (Scott) Gow and I’m an elopement photographer based out of Greenville, South Carolina. I’m a wife and a beagle mom. The three of us have visited beautiful places in every corner of South Carolina, to include all 48 of our state parks. We love finding new outdoor places to visit, but we also love hanging out on the couch and watching Pixar movies.

One thing I love about South Carolina is that it’s not just the beaches and colorful houses that you imagine when you picture it. Whether you’re looking for mountains, beaches, or anything in between; I can help you find the perfect place for the two of you and make it as smooth of a day as possible. No matter how you two choose to spend your day, I’m happy you’re doing it the way that you want.

I can’t wait to meet you!

Planning Resources

2023

2023 had a lot of wins after a lot of slowness, so I’m gonna share some of the things that helped turn things around, plus share some of my favorite photos from 2023. I hope this helps anyone who is running a small business!

Contact Form

One quick fix was that I added a phone number option to my contact form on my website. I’d gotten a lot of responses a long time later saying, “Sorry I didn’t see this earlier, it was in my spam folder!” Most of the time, I just never got a response and assumed this is what happened. But if someone happened to give me their phone number in their initial inquiry, I would text them to say that I emailed them all my info and to check their spam folder. Those people were much more likely to respond. Once I made it an option on my contact form to add a phone number, most people did it, and I saw a huge decrease in the number of people who never responded to me.

Blogging

I focused really heavily on my blog this year, since that’s been helping me connect with more people for a couple years now. For every blog post, I put the location wherever I can, like the title, the URL, and the filenames of the images. I usually have 3 variations of titles that I use in a given blog gallery, just whatever I think people are googling. I make a blog post for every couple I work with, but I also do this for my informative posts.

My goal was to average 2 posts per month without going one calendar month without a post. I ended up with 32 posts for the year, and 8 of those were in November. Those 8 were all clients (I’m not kidding when I say Fall 2023 was insanely busy) but a lot of the rest were things I want people to read before they reach out to me. Some of them were questions I always find myself answering, so I don’t have to keep saying the same thing over and over.

Locations

A lot of these blog posts were specific to locations. I made a blog post a few years ago just for engagement photos at Clemson, since that was most of my clientele at the time and I wanted to give people ideas. This year, I started making blog posts with locations I’d shot at more than once so that people could see what kind of scenery was in a given place. I made a blog post at the beginning of the year highlighting different places in downtown Greenville, since there’s so much of a variety of scenery and I wanted to have photos of all of it in one place to show people. I felt like I kept describing all these places to people, so I put all the photos of different places there into one post. Now, if someone wants to propose downtown, I can just send them a link to that post and we can talk about which places stand out to them.

The post I made for Pretty Place was mostly to help people coordinate getting there in general, since it’s closed for weddings so often and apparently people come from all over to see it. I kept getting inquiries for Pretty Place that never panned, which I think is because people were trying to coordinate a big trip there and then realized they couldn’t guarantee it’d be open when they were in the area. I made that post in March and it quickly became my third most-viewed post for the rest of the year, behind my posts about where to take engagement photos and where to elope. I ended up with 5 engagement sessions there in 2023, and 3 were in the same week. 4 of these couples were from out of state and 4 of these couples had never been there before.

I only had 4 couples this year who had already chosen a location I’d never been to before, and those were all wedding venues. 1 couple chose a location that I’d been to before, but had not done photos at. Some people found me because they chose a place and my photos came up when they googled it. Some wanted my advice in choosing a location and I sent them blog posts with lots of photos from specific locations. Sending videos I’d taken there also helped them get an idea of where to stand and what spacing looked like, especially if it was a place they’d never been to.

Organizing Posts

I also got better at linking my blog posts all over my website. I have all my informative posts in their own category at the end of each blog post and on my homepage so they’re easy to find. If I have a post for a location I’ve shot at multiple times, I link other blog posts from that location, and the blog post with all the info for that location.

Blogging Workflow

I made a “demo” blog post as a draft that I can duplicate every time I book a new couple. This has the formatting I want so I don’t have to do it from scratch every time. After I set the date with the couple, I duplicate that post and change the title and URL to have the location in it. Once I’ve taken the photos, I can write a blog post as a note on my phone whenever I feel like it (like in waiting rooms or on plane rides) and then paste the text into the post when I’m done with it. Then once I’m done editing the photos, everything else in the blog is already done. I choose the photos I want for the blog, resize them, save them as a PNG, rename them to have the location name in it, and then upload them to the blog. You can make a Photoshop action to automate resizing the photos and saving them as a PNG. I’ve been told to resize to 1920 pixels on the long side to find the balance between clarity and size.

My Laptop

An investment is worthwhile if it helps save you a lot of time and peace of mind. I’m the kind of person who doesn’t upgrade things until it’s absolutely necessary. I had my laptop for almost 6 years, and 6 years of editing photos took its toll on it. It got to the point where I had to set aside a lot of time to do ANYTHING on my laptop because it was so slow. As soon as my busy season started, it was clear that my laptop had reached the point where I was wasting more time than I was being productive. Dan and I decided that we would upgrade my laptop on Black Friday to get it for a lower price. But when I sat at my laptop for half an hour without getting anything done, I knew I couldn’t wait until Black Friday. I activated my editing software on Dan’s desktop computer until the new laptop arrived, and I couldn’t believe how much faster everything was going. I don’t know what I would have done if I’d spent another day trying to work around such a slow laptop.

Time Off

And if you have a full-time job like I do—use your time off. I’ve taken a few days off this year to do sunrise sessions, then I come home, sleep, and get stuff done. I feel a lot better coming back to work after taking a day to rest and get things off my plate.

So there you have it—some of the things that helped me pivot in 2023. I hope this helps you get un-stuck, and feel free to message me if you have any questions!

Hi, I’m Christine!

I’m a photographer based out of Greenville, South Carolina. I love quirky couples who love the outdoors. I’ve helped lots of people plan elopements and engagements over the years.

I’m also a wife, a beagle mom, and an adult who takes gymnastics and dance classes. Reach out to me with any questions you have or if you’re interested in having photos done!

Recent Work

Planning Resources